বুধবার, ২৭ জুলাই, ২০১১

Making a XP Bootable CD

The following are the instructions for making a bootable XP CD using Nero

To begin, download the Microsoft Corporatiion.img file and remember the location where you download it to your computer
  1.  Start Nero
  2. Double click on CD-ROM (boot)
  3. Check Image File
  4. Click on the Browse button, File of Type - All Files, Select the Image file
  5. Keep the Nero Boot-Loader 07C0
  6. Load Segment - 07C0
  7. Number of loaded sectors - 4
Make the screen look like the following graphic
  1. Click on the ISO tab
Configure it to match the following graphic

  1. Click on the LABEL tab
  2.  You don't need to but here are the default labels for the different versions of XP 
    • Windows XP Professional: WXPCCP_EN
    • Windows XP Home: WXHCCP_EN
    • Windows XP Professional OEM: WXPOEM_EN
    • Windows XP Home OEM: WXHOEM_EN

  3. Click on the New button
Select your XP Source files and drag to the window on the left
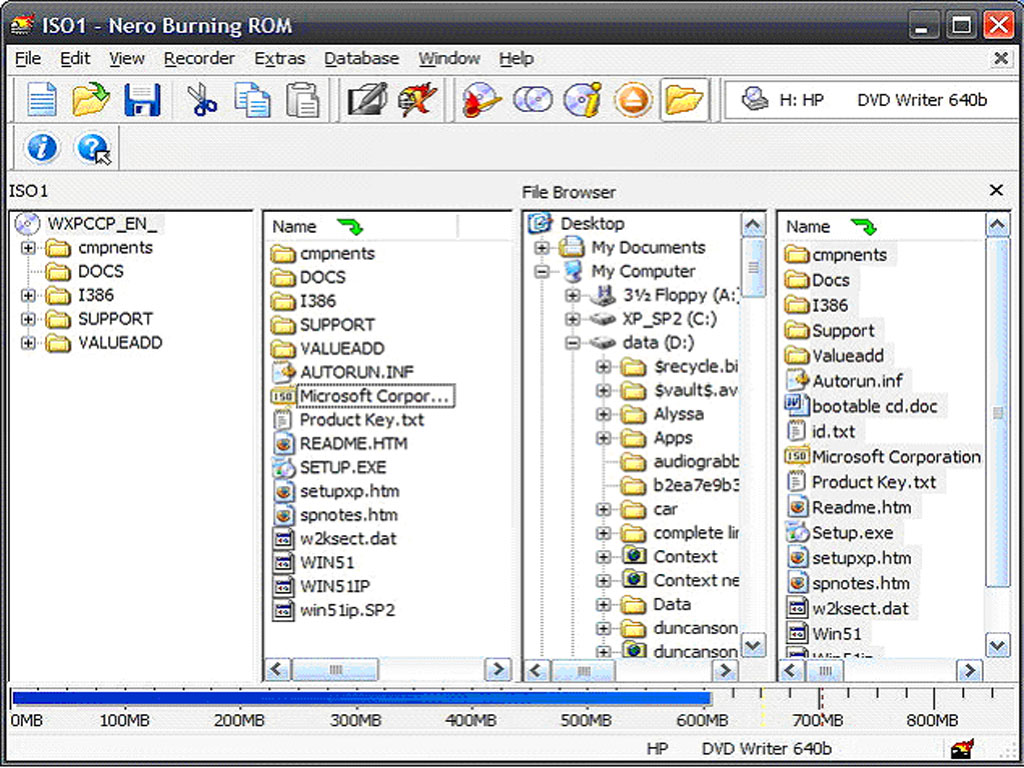
  1. Make your bootable XP CD
Copying the Source Files
  1. If your WindowsXP source files are already on the computer's hard drive you can skip this section.
  2. Insert your WindowsXP CD
  3. If prompted, do not install WindowsXP
  4. Create a directory on the hard drive and copy the entire contents of the CD to that directory
  5. For example, use c:\winxp
Performing the SlipStream
  1. Given the previous examples, go to the  c:\xp_sp2\i386\update directory
  2. Run:
    update.exe  -S:c:\winxp
  3. When it is finished, you will see the message The Integrated install has completed successfully
  4. You can now copy the c:\winxp directory to a CD or other location.
  5. If you need to make a bootable CD ROM, there are other locations on the Internet with good detailed instructions.            

শুক্রবার, ২২ জুলাই, ২০১১

Make Windows XP Shut Down Faster


One of the biggest annoyances in Windows XP is waiting for what seems an eternity while it shuts down, so we have a couple of registry tweaks to help force Windows to shut down more quickly.

Usually what is happening is one or more applications is hanging up to 20 seconds (in the Registry all values are set to milliseconds) while the OS tries to shutdown. Before making any changes to the Registry it is highly advisable to create a backup.
The first thing we need to do is access the Registry by going to Start \ Run and type in “regedit” (no quotes) then click OK.

Now with the Registry Editor open the first change we want to make is under HKEY_CURRENT_USER \ Control Panel \ Desktop scroll down to HungAppTimeout and change the default 5000 to 1000 then click OK.

Then scroll down to WaitToKillAppTimeout from 20000 to 1000 then click OK.  Keep the Registry Editor open as we have 3 more values to change in two different sections.

Next we are going to HKEY_LOCAL_MACHINE \ System \ CurrentControlSet \ Control and double click on WaitToKillServiceTimeout to 1000 then click OK.
Finally, we need to navigate to HKEY_USERS \ DEFAULT \ Control Panel \ Desktop and change HungAppTimeout to 1000 and click OK. 
Then scroll down to WaitToKillAppTimeout to 1000 and click OK.
While I am showing much lower timeout times in this post you might want to start with say 20000 to 10000 as some programs may be performing cleanup maintenance.  No matter what you change the values to; make sure they are uniform throughout each setting.